
Painting your bathroom can be a rewarding project that breathes new life into an often overlooked space. However, the unique environment of a bathroom—with its moisture, tight spaces, and frequent use—poses specific challenges that require thoughtful preparation. This article will share essential tips to help you prep your bathroom effectively for painting, ensuring a smooth process and a durable finish.
The Benefits of Prepping the Bathroom Before Painting
Preparing your bathroom before painting is more than just a preliminary step; it’s vital to ensure that the paint job lasts longer and looks better. Here are some of the key benefits of taking the time to prep your bathroom thoroughly before applying a fresh coat of paint.
Improved Adhesion
Prepping your bathroom properly creates a clean, smooth surface that paint can adhere to more effectively. Cleaning the walls to remove mold, mildew, soap scum, and other residues ensures that the paint sticks well and doesn’t peel or flake prematurely. Sanding any rough areas helps to create a uniform surface that enhances adhesion, making your paint job more durable and long-lasting.
Enhanced Appearance
A well-prepared surface results in a more polished look. Filling holes and cracks before painting not only helps in achieving a smooth finish but also prevents imperfections from detracting from the beauty of your newly painted bathroom. It ensures that the walls look flawlessly even and that the color appears consistent and vibrant, elevating the room’s overall aesthetic appeal.
Protection Against Moisture
Bathrooms are prone to moisture, which can seep into walls and cause damage over time. By sealing gaps and ensuring that the surface is properly primed, prepping helps to create a moisture-resistant barrier. A good primer not only provides a better surface for the paint but also prevents moisture penetration, protecting the walls from the potential growth of mold and mildew.
Cost Efficiency
Thorough preparation can extend the life of your paint job, saving you money in the long run. Taking the time to prep correctly minimizes the likelihood of having to repaint sooner due to issues like peeling or color fading. This proactive approach can avoid the additional costs of frequent touch-ups and renovations, making it a cost-effective strategy for maintaining your bathroom.
Tips to Prep Your Bathroom Before Painting
Prepping your bathroom for painting is a critical step that ensures a smooth, professional finish. Because bathrooms endure a lot of wear and tear due to high humidity and frequent use, taking the right preparatory steps can make all the difference. Here are some essential tips to get your bathroom ready for a fresh coat of paint.
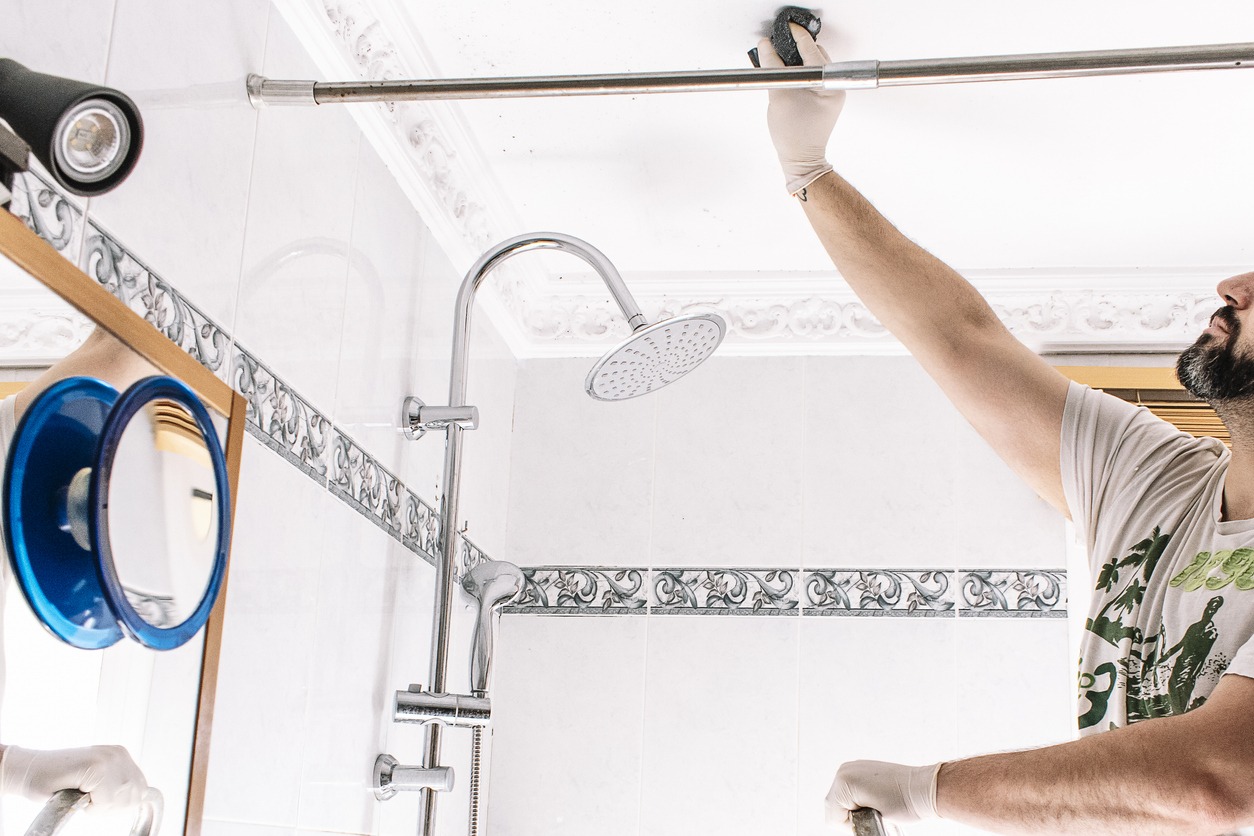
Tip 1: Clean the Walls
Start by thoroughly cleaning the walls. Bathrooms collect more grime, soap scum, and mildew than other rooms, so it’s essential to remove these elements before painting. Use a solution of water, mild detergent, or a specialized bathroom cleaner to wipe down the walls. For areas with mold or mildew, a blend of bleach and water can be effective. This cleaning step ensures that the paint will adhere properly to the walls.
Tip 2: Protect Fixtures and Floors
Before you begin painting, make sure to protect your bathroom fixtures, floor, and any furniture from drips or spills. Cover the floor with a drop cloth or old newspapers, and use painter’s tape to shield the edges of sinks, bathtubs, mirrors, and any hardware you can’t remove. Taking these precautions helps avoid unwanted paint stains and reduces cleanup time.
Tip 3: Repair Damages
Inspect the walls for any cracks, holes, or imperfections. Use spackle or a suitable filler to repair these flaws. Once the filler dries, sand the area until smooth and flush with the rest of the wall surface. This step is crucial for achieving a professional-quality finish, as smooth walls ensure even paint application and appearance.
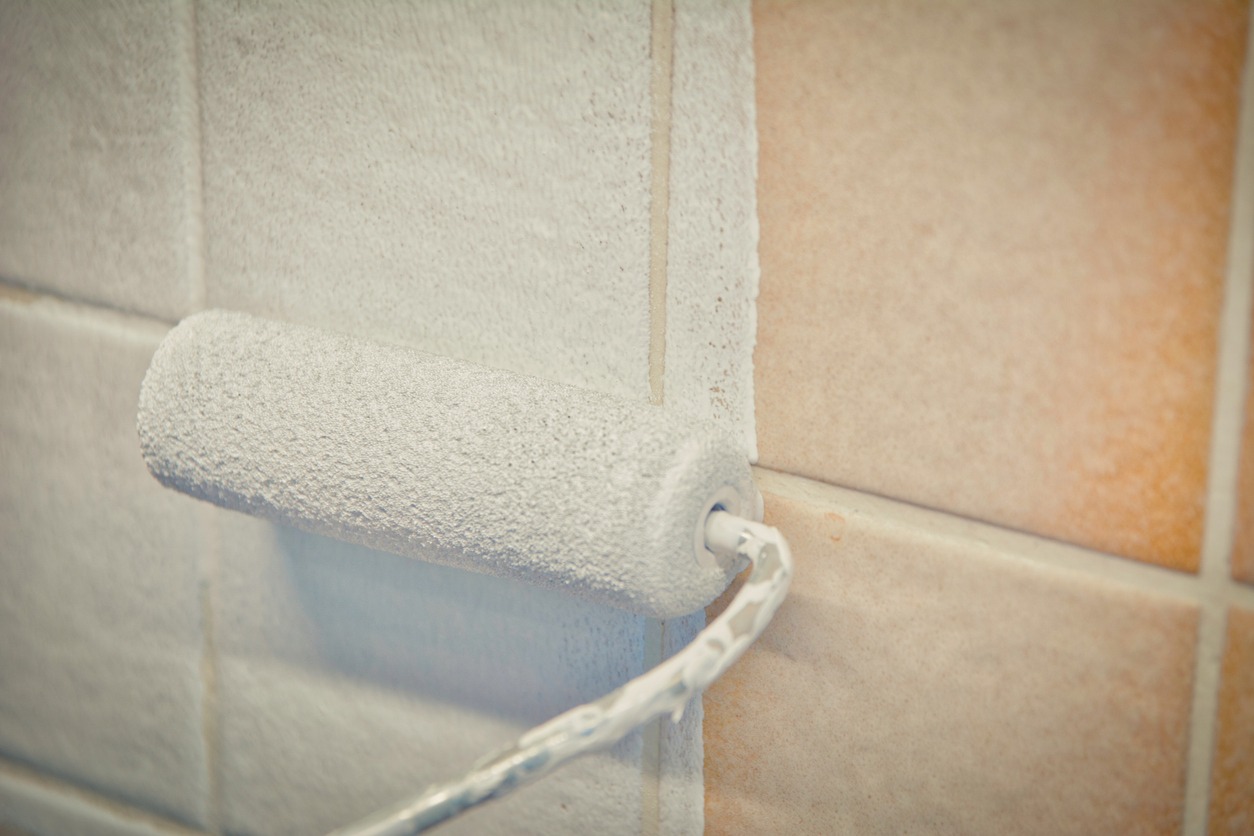
Tip 4: Prime the Walls
Applying a primer is especially important in a bathroom due to the high moisture levels. A good-quality primer designed for high-humidity areas will help the topcoat of paint adhere better and last longer. It also provides an additional layer of protection against moisture and can help prevent mold and mildew growth.
Tip 5: Tape Off Areas
Use painter’s tape to create clean, sharp lines where the walls meet the ceiling and floor and where they frame windows or doors. This step requires precision but is worth the effort for the neat edges it produces. Ensure that the tape is well adhered to avoid bleed-through.
How to Choose the Best Paint for Bathrooms
Choosing the right paint for your bathroom is essential to ensure it retains moisture and maintains its beauty over time. Bathrooms pose unique challenges due to high humidity levels, frequent temperature changes, and mold and mildew growth potential. Here are key tips to help you select the best paint for your bathroom:
- Opt for High-Quality, Moisture-Resistant Paints: Look for paints specifically designed for bathrooms. These paints are typically higher in quality and have moisture-resistant properties, helping to prevent peeling and the growth of mold and mildew.
- Choose the Right Finish: Glossy, semi-gloss, or high-gloss finishes are ideal for bathrooms. These finishes offer greater durability and easier cleanup, help reflect light, and make the space appear brighter.
- Consider Mildew-Resistant Features: Select a paint that includes mildew-resistant additives. This is especially important in bathrooms, where the damp environment can encourage the growth of mold and mildew.
- Pick Light and Neutral Colors: Light colors tend to make small spaces like bathrooms feel larger and more open. Neutral colors are versatile and more likely to match various accessories and fixtures, giving your bathroom a timeless look.
- Test Paint Colors Before Committing: Due to the unique lighting in bathrooms, it’s wise to test paint colors directly on the bathroom walls. This will give you a better idea of how the color will look under both artificial and natural light specific to that room.
By following these tips, you can choose the best paint for your bathroom, which will look great, provide long-lasting protection, and make maintenance easy.
Conclusion
In conclusion, preparing your bathroom for painting is a critical step that should not be overlooked. By following these essential tips—from cleaning the walls and repairing damages to priming and protecting your fixtures—you set the stage for a successful paint job. Proper preparation helps ensure the paint adheres well and lasts longer, providing a durable and attractive finish. If you want to get the best painting services, you should hire our painters at Custom Painting. For inquiries and estimates, fill out our Contact Form or call 925-294-8062.
