
Before a painter brings color to your walls, a number of important preparations need to be made to ensure a flawless finish. Professional painting contractors know that the key to a successful interior paint job lies in the careful steps taken long before the first coat is applied. This article outlines essential practices that painting contractors should follow to set the stage for painting success, from safeguarding furniture and fixtures to addressing the finer details of wall preparation.
The Benefits of Hiring a Painting Contractor
Hiring a professional painting contractor can transform a routine project into an effortless upgrade for any homeowner. While it might be tempting to tackle painting as a DIY project, the advantages of enlisting a professional are manifold. Here are some key benefits of hiring a painting contractor:
- Quality Results: Unlike amateur paint jobs, professionals provide a high-quality finish that lasts longer and looks better. Their expertise ensures even coats and sharp lines with high-grade products suited to your specific wall type and environmental conditions.
- Efficiency: Painting contractors bring speed and efficiency to their work, completing projects faster than the average DIY enthusiast could, thanks to their experience and specialized tools.
- Less Stress: Handling a painting project can be stressful, from preparation to clean-up. Contractors manage the entire process, allowing you to relax and look forward to the outcome without the hassle.
- Professional Equipment: Contractors possess the necessary tools and equipment to execute the job efficiently, which means there’s no need for you to invest in or rent painting gear.
- Detailed Preparations: A professional’s work begins well before the first coat of paint is applied. They take care of all the preparation tasks, such as covering furniture, filling holes, and sanding surfaces to ensure the best outcome.
- Insurance: Professional painters are typically insured, which means any damage they accidentally cause in your home is covered, providing an extra layer of protection for homeowners.
- Longevity: A professional paint job tends to last longer due to better application techniques and the use of appropriate materials, reducing the frequency and cost of repainting.
- Expert Advice: Contractors can offer valuable advice on color choices and finishes that best suit your home’s style and lighting, enhancing the aesthetic appeal and potentially increasing your property’s value.
The Steps Painting Contractors Take Before Starting a Painting Project
Before a painting contractor begins transforming your space, a series of detailed steps are crucial to ensure that the final results meet both the homeowner’s expectations and professional standards. These preparatory steps form the foundation of a successful painting project. Here’s what professionals typically undertake:
Consultation and Quote
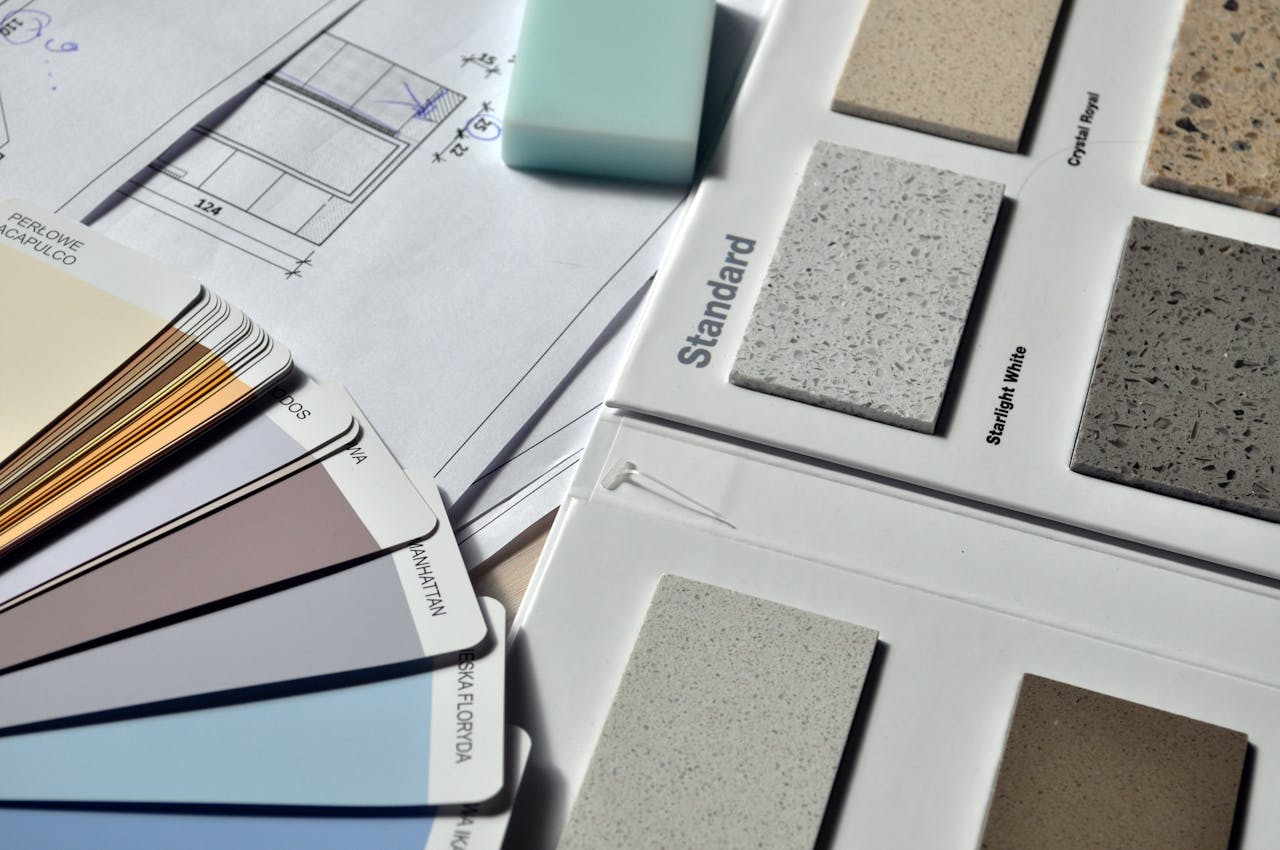
The initial consultation is a critical step where the painting contractor meets with the homeowner to discuss the project, inspect the areas to be painted, and understand the homeowner’s vision and requirements. During this meeting, color choices, finishes, and timelines are discussed. The contractor will then provide a detailed quote that outlines the costs, scope of work, and materials to be used. This transparency helps set the right expectations and ensures both parties are aligned on the project’s objectives.
Site Preparation
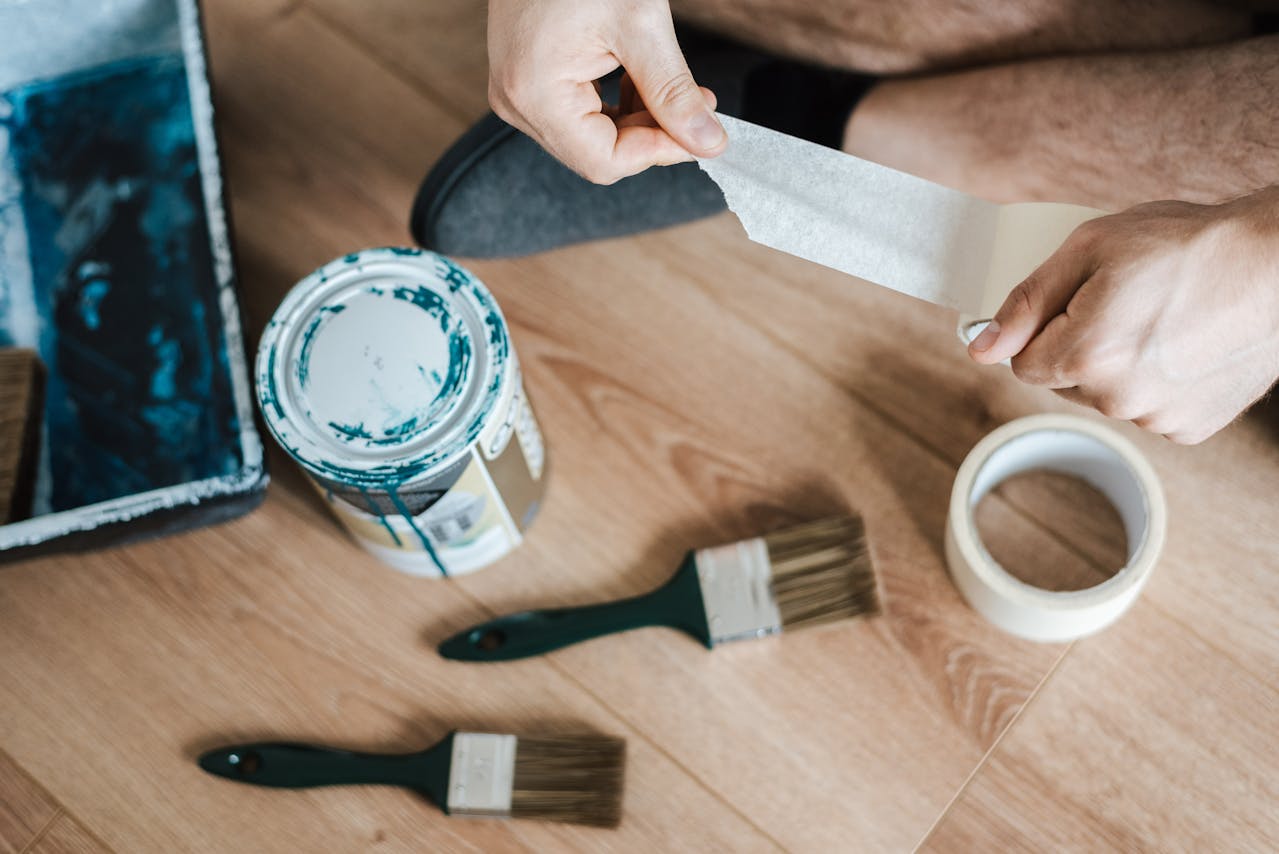
Once the project details are finalized, the contractor begins the process of preparing the site. This includes moving or covering furniture and flooring to protect them from paint splashes. Delicate items such as electronic devices and decorative pieces are either moved out of the room or carefully covered. The contractor also ensures that the work area is safe and accessible, removing any obstacles that could hinder the smooth progression of the painting process.
Surface Preparation
Preparing the painting surfaces is perhaps the most labor-intensive part of the process. This involves cleaning the walls to remove dust, dirt, and grease, which ensures that the paint adheres properly. Any holes or cracks in the walls are filled and sanded down to create a smooth surface. In cases where old paint is peeling, it may need to be scraped off, and primer is applied to ensure the new paint coats evenly and lasts longer.
Priming
Applying primer is an essential step, especially if the walls are patched, stained, or painted in a significantly different color than the previous one. Primer not only provides a smooth base that enhances the paint’s adhesion but also helps to block stains and ensure that the true color of the paint shines through. This step is critical for achieving professional-quality results.
Painting
With all the preparatory work complete, the actual painting begins. Using the right tools and techniques, the contractor applies the chosen paint. This usually involves multiple coats, allowing adequate drying time between each layer to achieve a durable and visually appealing finish. The contractor’s skill ensures that the paint is applied evenly and the edges are neat, which significantly influences the aesthetic quality of the job.
Tips for Hiring the Best Painting Contractors in Your Area
Choosing the right painting contractor can make a substantial difference in the outcome of your home renovation project. A skilled painter not only beautifies your home but also ensures that the results are durable and of high quality. Here are several tips to help you select the best painting contractor in your area:
- Check for Credentials: Verify that the contractor has the necessary licenses and insurance to operate in your area. This protects you in case of accidents or damage to your property during the project.
- Read Reviews and Testimonials: Look up online reviews and ask for references. Hearing about other homeowners’ experiences with the contractor can give you insight into their reliability and quality of work.
- Get Multiple Quotes: Don’t settle for the first estimate you receive. Getting quotes from several contractors can give you a better idea of the going rates and help you gauge who offers the best value for the quality of work provided.
- Examine Their Portfolio: Ask to see examples of the contractor’s previous work. A portfolio can provide a visual confirmation of their skill and attention to detail.
- Discuss the Materials and Techniques: Make sure the contractor is willing to use high-quality paints and the correct techniques for your specific project. The quality of materials and application methods significantly affect the longevity of the paint job.
- Look for a Detailed Contract: The contractor should provide a contract that clearly outlines the scope of work, materials to be used, timelines, and the total cost. A detailed contract helps avoid misunderstandings and ensures the contractor meets your expectations.
- Assess Their Communication Skills: Communication is key to any successful home improvement project. Your contractor should be responsive, clear, and professional in their interactions with you.
- Check for Warranties and Guarantees: A trustworthy contractor will stand behind their work with a warranty or guarantee. This shows they are committed to providing quality work that they are willing to back up.
By following these tips, you can feel more confident in your decision and ensure that you hire a painting contractor who will deliver excellent results and enhance the beauty of your home.
Conclusion
Proper preparation by a painting contractor is the cornerstone of any successful interior painting project. It ensures that the painting process goes smoothly, with minimal disruption, and results in a finish that is both beautiful and enduring. From initial consultations to meticulous site preparation and from detailed surface work to the careful application of primer, each step taken before the paint is even opened is critical. For expert painting services tailored to meet your specific needs, consider reaching out to Custom Painting, Inc. Contact us today at (925)-294-8062 or fill out our Contact Form to get started.